This week I worked on a fun re-use project using vintage wooden utensils!
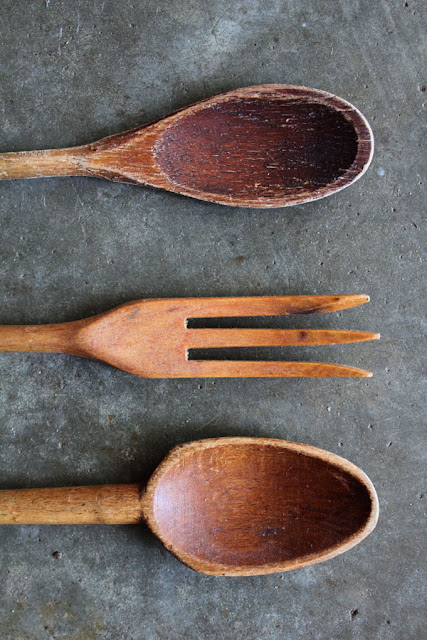
I find pieces all the time at the thrift store...for projects, and I display special finds, too. For this project I gathered together some pieces I thought
might work for the project I had in mind...
might work for the project I had in mind...
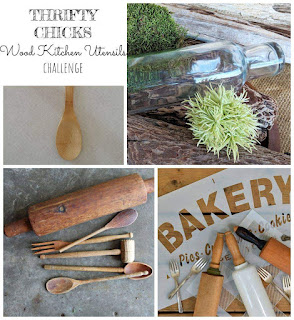
I am joining my fellow Thrifty Chicks for this months challenge-
rolling pins or wood utensils! I'll be sharing the links to the other
bloggers' fun posts at the end of this post!
rolling pins or wood utensils! I'll be sharing the links to the other
bloggers' fun posts at the end of this post!
I started with these old utensils...
and this old rolling pin.
I finally settled with using the rolling pin and these three utensils.
I thought the wood tones worked well together.
I plan on making a wall rack with these...to hold aprons or dish towels. I started by dividing the roller section by 4, so I would have three equal sections...or approximately equal sections...it's an old uneven pin and I'm all about eyeing things up. I marked the spots with chalk so I could easily erase. Then I cut the utensils to the same length, allowing for a one inch depth in the pin. I ended up taking off another 1-1/2" after this photo was taken.
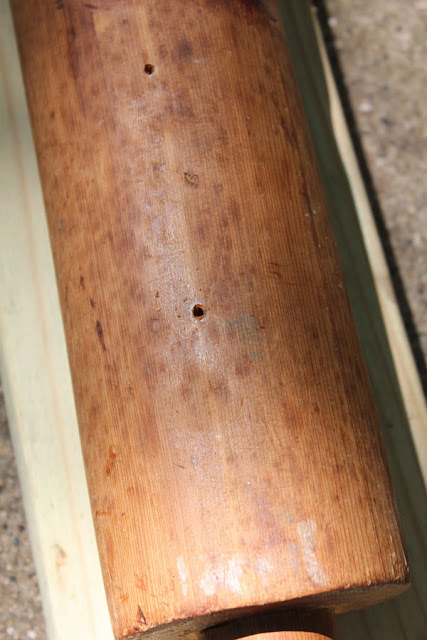
Viking Man worked with me on drilling the holes, as we don't have a drill press, which would have made this step easier. The holes were marked with a nail for starter holes...
A spade bit was used to drill the holes...using the proper size bit for each utensil handle size. Viking Man marked the bit to a depth of one inch so we would get the holes the right depth.
One handle fit a little loosely, so I wrapped it with a little electrical tape around the end until it fit tightly. I glued each handle in with wood glue. In the photo below, you can see looking from above, how the handles are inserted.
To mount this on a wall, you need brackets to keep the pin from rolling forward. I used some curtain rod brackets. In this next photo, the top bracket is before, the bottom bracket was after we used pliers to bend it to fit the rolling pin handle.
To display it, the brackets are mounted on a piece of scrap board for hanging.
I've been thinking about what to do with the backer board...stain it to match or paint it black to match the brackets? I think the rolling pin might stand out better if the board was painted black...what do you think?
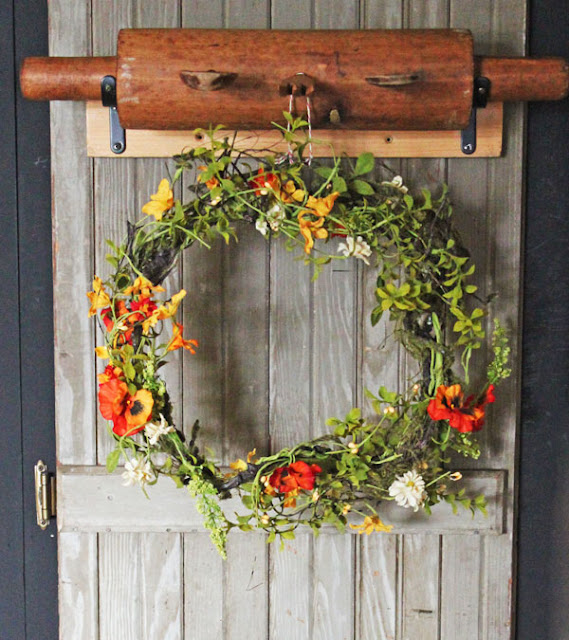
Soon this piece will be used in a pantry we are making, but for now I've staged it two ways so you can see how it might be used... I thought it would be fun for aprons, dish towels, wreath display, or even drying herbs and flowers!
I think this will be a handy piece!
Pin me...
Be sure to visit the other Thrifty Chicks posts!
They always have such fun junkovers!
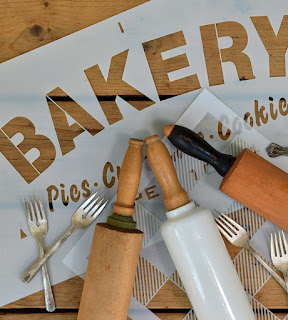
Lora B Create And Ponder- DIY Stenciled Rolling Pin Display
Little Vintage Cottage- Wooden Spoon Repurpose
Audrey Would- Give A Glass Rolling Rin A Little Sparkle
I am joining Common Ground and Follow The Yellow Brick Home
for their very first All About Home party!
Until next time...












Linda, That is a cute project, to make a nice hanger of aprons in a kitchen. I have a bunch of rolling pins in a basket, I use for decorations. Blessings , xoxo, Susie
ReplyDeleteLinda I love this it's great. Painting the back board black is a great idea
ReplyDeleteThis is great work with The Vicking
Cindy
Thank you, Cindy! We were experimenting all the way through!
DeleteI love the primitive style of this with all that beautiful old wood, Linda. And love how you styled it, too. Yes, black for the backer board. Hope we're going to get to see your pantry project;)
ReplyDeleteI think black also. I think it would give it that special touch. It's such a novel piece and you're so creative!
ReplyDeleteBrenda
Maybe painted black. I sort of like the look of black and old wood together. Very cute project though!!!
ReplyDeleteOh I love this!
ReplyDeleteTania
Linda, you knocked this challenge out of the park! I love your vision and how the rack turned out...I can only imagine how fabulous your pantry is going to be. And I'm all for black for the backing board - I think it will make the rolling pin totally pop. Aside - what would we do without our Viking Men? ;-)
ReplyDeleteThank you so much! I'm really looking forward to making a pantry...older houses sure don't have much storage! And you are right...my Viking Man is always there to help me...
DeleteThis is so creative and fun, Linda! I vote for painting the back board black. I think it would contrast nicely with the wooden rolling pin.
ReplyDeleteWhat a great idea all around! Just the right amount of vintage, I say. I love the apron hanging but I also love the look of the wreath as well. xo Kathleen
ReplyDeleteThank you, Kathleen! I think I'll have some fun with it!
DeleteLinda, this is so cute! you come up with the most fun vintage project ideas. Love the late summer wreath and the white picnic basket. I have all this "stuff" collected but never get around to using my noodle to make something. great job! thanks so much for linking up to our first party!! xo
ReplyDeleteLinda this is great. I love it! What a great and creative re love of these vintage pieces.
ReplyDeletexoxo
Kris
What a lovely idea! Love it! Always so nice visiting your blog Linda :)
ReplyDeleteTitti
Thank you so much, Titti!
DeleteSuch a cool idea! Thanks for sharing!
ReplyDeleteThank you, Jeannie!
DeleteLinda this is fabulous! Wow, so very creative. I am pinning away! Thank you so much for sharing at All About Home! I hope you will also link up this week at Thursday Favorite Things too.
ReplyDeleteHave a great week!