I have long loved the look of a French market basket! They are very expensive, and I've never run into one in all my thrifting days. I have had plans FOREVER to make one of my own...collecting possible parts I thought might work.
Well, this week our Thrifty Chicks group has our
monthly makeover challenge...and it is re-using wheels!
I'll share links to all of the other posts at the end of this post!
As I want my market basket to have a vintage look, I've thought these chippy, rusty wheels would be perfect for my project! So...it's about time I try making that French-style market basket! I started out by spraying the wheels with water-based poly to seal up all the chippy goodness. Wheels on market baskets are usually small and are located on the sides of the basket, towards the back. There is also a support piece on the front of the basket, to allow the basket to stand evenly.
Next, I have a few vintage baskets I've been saving for projects,
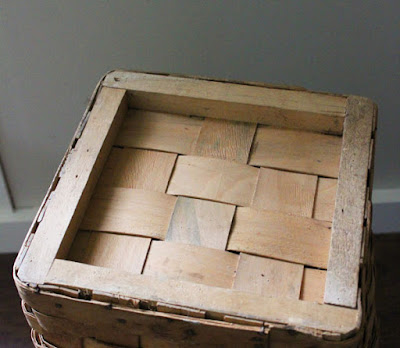
and settled on this one. It is tall and narrow...tapered wider at the top.
and settled on this one. It is tall and narrow...tapered wider at the top.
It also has a great wood frame around the base...perfect for attaching wheels.
My basket will be used decoratively, but I still want the wheels to turn,
even though it wouldn't be necessary.
My basket will be used decoratively, but I still want the wheels to turn,
even though it wouldn't be necessary.
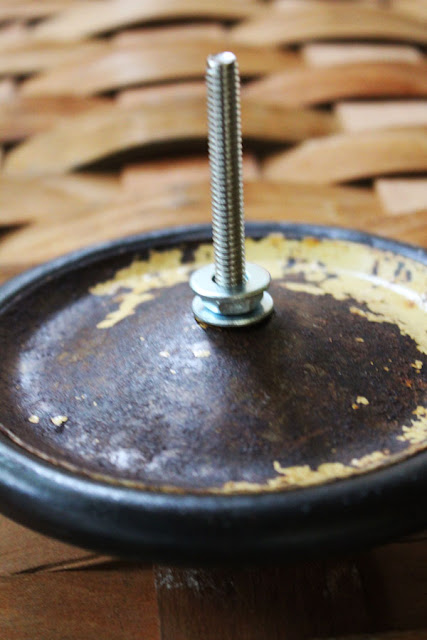
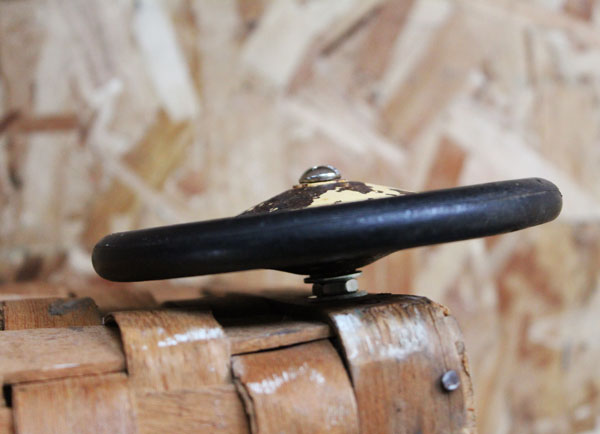
You could drill through the sides and just add an axle across the base and attach the wheels. For this one, 1/4" diameter holes were drilled through the wood, to match the wheel hub hole. I inserted 3" bolts of the same size through the wheel and wood piece, with a washer topped by a nut and washer, for spacing on both sides. Then a lock washer and nut were used on the interior of the basket to secure the bolt.
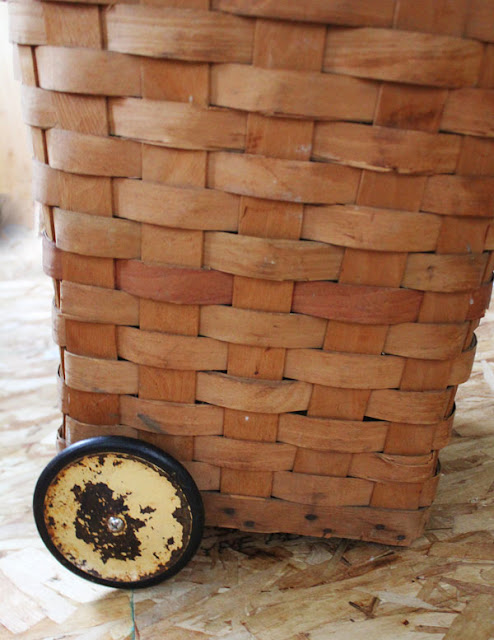
Here you can see the attached wheels,
and how the basket slants downward, needing front support.
I used a little old wood bowling pin, that could be cut down to fit,
and it was screwed onto the front of the wood frame.
I liked the curved shape.
The final part was a handle. I thought of using handles of old flower baskets, but it needed to be sturdier for the size of the basket. I ended up using a handle off another basket (that I wanted to remove anyway). It was a stiff bamboo handle, wrapped in burlap. Reinforcing it with a wood dowel base helped to stabilize it and then it was attached to the wood in several places with a nail gun. You can see in the next photo, the wood dowel was white, and I gave it a coating of
Early American stain to help it blend in with the basket.
You can see it stained in the completed basket photos.
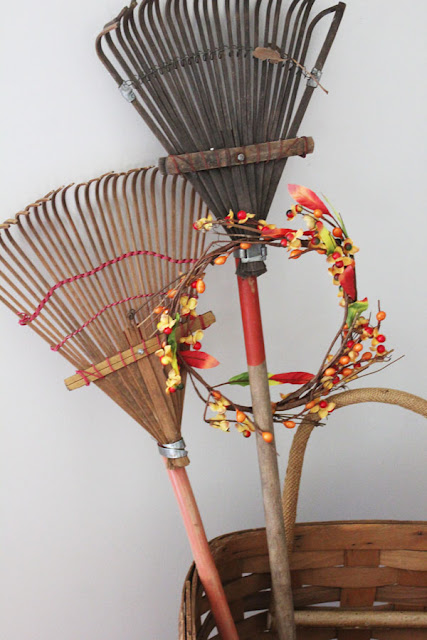
I am so happy with how it turned out...to me it looks like a vintage market basket! I don't have much around the house for styling it right now (everything is being moved), but I found a couple of old children's rakes in the shed
and a little bittersweet wreath...you get the idea!
I know I will have so much fun with this basket all year long!
Pin Me...
It's so fun to finally finish a project you've been wanting to do!
A big thank you to Viking Man for working with me on some of this!
Be sure to visit the other bloggers' fun posts, too!
I am joining All About Home Link Party with~
Common Ground and Follow The Yellow Brick Home
Until next time...
Here you can see the attached wheels,
and how the basket slants downward, needing front support.
I used a little old wood bowling pin, that could be cut down to fit,
and it was screwed onto the front of the wood frame.
I liked the curved shape.
The final part was a handle. I thought of using handles of old flower baskets, but it needed to be sturdier for the size of the basket. I ended up using a handle off another basket (that I wanted to remove anyway). It was a stiff bamboo handle, wrapped in burlap. Reinforcing it with a wood dowel base helped to stabilize it and then it was attached to the wood in several places with a nail gun. You can see in the next photo, the wood dowel was white, and I gave it a coating of
Early American stain to help it blend in with the basket.
You can see it stained in the completed basket photos.
I am so happy with how it turned out...to me it looks like a vintage market basket! I don't have much around the house for styling it right now (everything is being moved), but I found a couple of old children's rakes in the shed
and a little bittersweet wreath...you get the idea!
I know I will have so much fun with this basket all year long!
Pin Me...
A big thank you to Viking Man for working with me on some of this!
Be sure to visit the other bloggers' fun posts, too!
I am joining All About Home Link Party with~
Common Ground and Follow The Yellow Brick Home
Until next time...
1. Itsy Bits And Pieces~ A DIY French-Style Market Basket
3. Lora B. Create And Ponder~ Repurposed Wheel Pumpkin DIY
4. Color Me Thrifty~ Repurposed Wheel Flowers








Linda, I will visit the others, I just want to say how much I love this french market basket. The little rakes are so sweet. You clever girl. Blessings, xoxo, Susie
ReplyDeleteOh my gosh Linda! You had me at the wheels - they are gorgeous!! Your French market basket is ingenious and turned out beautifully. What a great decor option - oh, the fun you will have with it decorating for every season!!
ReplyDeleteThank you! I know I am going to have so much decorating fun with this piece!
DeleteI love your basket Linda! I can see it being used in so many ways.
ReplyDeleteLinda to say I love this isn't enough! You are brilliant and where did you find the wheels, perfect addition. You are so good at repurposing old pieces. Bravo.
ReplyDeleteCindy
Thank you, Cindy! I found four of these little wheels (for $1 each!) at an antique store about 10 years ago...I like to keep a stash of pieces for projects!
DeleteThis turned out so cute! I have to laugh since I suggested taking wheels off a shopping basket, and you're putting them on! Hey, we're repurposers, right? Whatever works! And for the record...I would probably never take the wheels off a real french market basket...I think;)
ReplyDeleteWhat a fun project! It looks amazing! Seriously!
ReplyDeleteThanks for inspiring me today!
karianne
It totally looks like a market basket I love it and those wheels are so cool!
ReplyDeletethis is such a great project, it looks like the real thing! Those wheels are wonderful. you guys are all so smart and creative with your projects. You're going to have so much fun with that!
ReplyDeleteOkay now this is right up my alley! I want one of these as well and have also toyed with the idea of making one. You hit a home run! Those wheels fit the bill perfectly. Just a little bit of jealous going on over here today:) xo Kathleen
ReplyDeleteThank you, Kathleen! I have another old basket, a tall pale aqua hamper that I want to use for one, too...a totally different look!
DeletePopping over from Tuula's post. Love what you did with this basket and how handy for so many purposes!
ReplyDeleteThank you, Marie! I know I'll enjoy using it!
DeleteThis is such a great DIY project! I love how you showed each step. The finished product looks like something out of a magazine! You did such a wonderful job repurposing all of these various parts and bringing them all together! I love it! :)
ReplyDeleteBlessings to you, Net
Thank you so much, Net! It's so fun to be able to make something you want!
DeleteHow cute (and clever) is that!
ReplyDelete